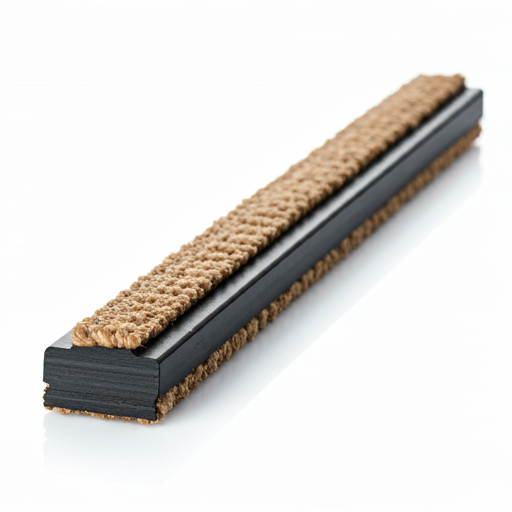
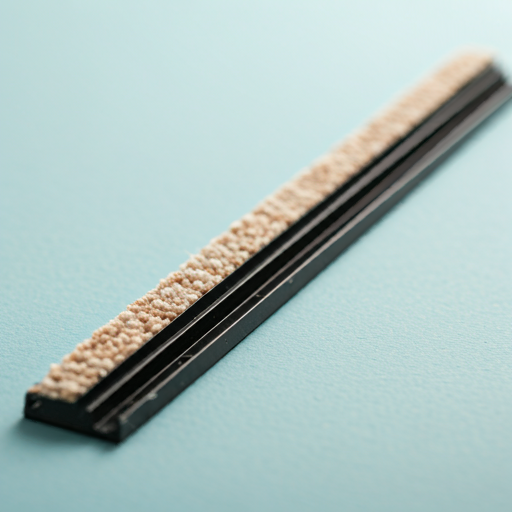
Installing wall-to-wall carpeting requires carpet tack strips. These little but crucial bits keep the carpet tight and smooth over the floor. Knowing how to utilize carpet tacking strips will improve your carpeting tasks, whether you’re an expert or a DIYer. This page will define carpet tack strips, explain their operation, and provide installation advice. We’ll also discuss tack strip varieties and usage.
What Are Carpet Tack Strips?
Carpet tack strips are short hardwood strips containing tiny, slanted nails or tacks. They surround the chamber along the walls. These strips secure the carpet, giving it a smooth, level surface. The angled nails snag the carpet backing as it stretches over the strip, pointing upwards towards the wall.
Tack strips are inch-wide and vary in length. We construct them from wood, which is easier to nail into and provides a stable base for the tacks. The strips’ pointed nails prevent the carpet from sliding or bunching, keeping it tidy and professional.
Why install carpet using tack strips?
Carpet tacking strips are essential for a tight fit and carpet retention. The carpet would move, wrinkle, and stretch without tack strips, creating an uneven, ugly surface. Tack strips offer the following main advantages:
1. Secure Hold: Tack strips keep carpets still after installation. This is crucial because carpets tend to move more in high-traffic areas.
2. Smooth Surface: Stretch the carpet over the tack strips for a uniform surface. Eliminate bumps and wrinkles to give the rug a professional appearance.
3. Easy Installation: Tack strips simplify carpet installation in big spaces. They provide tight, uniform carpet stretching with careful positioning and guidance.
4. Durability: Installed tack strips keep carpets in place and reduce wear and tear. Over time, this reduces repairs and replacements.

Types of Carpet Tack Strips
Different surfaces and uses require different types of carpet tack strips. Which kind you pick may significantly affect carpet installation results.
1. Standard Tack Strips
Standard carpet tack strips are the most prevalent. Regular carpet installations take place on wood or concrete subfloors. Easy to cut, these strips come in different lengths for every space. They suit most household systems.
2. Concrete Tack Strips
Concrete floors are the intended application for concrete tack strips. These strips contain powerful nails that can penetrate concrete for a tight grip. Installing carpet in a basement or other concrete area requires concrete tack strips.
3. Heavy-duty Tack Strips
Heavy-duty tack strips are characterized by their thickness and larger nails, making them ideal for heavy carpeting in commercial or high-traffic locations. They grasp the carpet better and retain it firmly under severe wear.
4. Moisture-resistant tack strips
Coated tack strips resist moisture, making them ideal for damp basements. They also prevent corrosion and degeneration, keeping carpets safe in humid settings.
5. Dual-purpose tack strips
Wood and concrete floors may employ dual-purpose tack strips. Their mix of conventional and concrete nails makes them flexible for various applications. If your project involves multiple flooring types, they can be an invaluable tool.
Installation of carpet tacking strips
Though simple, installing carpet tack strips needs accuracy and attention to detail. This step-by-step instruction will help you install tack strips:
1. Prepare the room
Clear the room of furniture and old carpet or flooring. Keep the floor clean, dry, and debris-free. This ensures tack strips stick to the floor.
2. Measure and cut tack strips.
Measure the room’s perimeter and cut the tack strips to that length. Use a utility knife or small saw for clean cuts. Leave a 1/4-inch space between the tack strip and the wall. This space lets the carpet tuck nicely around the borders.
3. Position
Tack Strips around the room’s perimeter with angled nails facing the wall. When stretched across the strip, this posture grips the carpet. Make sure the strips are near but not touching the wall.
4. Secure Tack Strips
Nail-tack strips using a hammer. Standard nails suffice for timber subfloors. Secure strips to concrete floors using masonry nails or glue. Ensure the strips stay put.
5. Stretch the carpet over tack strips.
After installing tack strips, stretch the carpet. Pull the rug over the strips using a stretcher or knee kicker. Angled nails secure the carpet backing. Trim any extra carpet and tuck it neatly between the strip and the wall.
6. Finish the installation.
After stretching and fastening the carpet, check for wrinkles and bumps. Make adjustments for a smooth finish. To finish installation, cover the edges with baseboards or trim.
Tips for Carpet Tack Strips
- Select the Right Type: Use the right tack strip for your subfloor. Hard surfaces need concrete strips, whereas wood uses standard strips. This ensures installation security.
- Leave a 1/4-inch space between the tack strip and the wall. Tuck the carpet edges in this area for a neat, professional effect.
- Wear protective gear: Tack strip nails are sharp and may injure. Wear gloves, handle them carefully, and install them with caution.
- Check for Moisture: Use moisture-resistant tack strips when placing carpet in damp areas. Prevention of corrosion improves installation lifespan.
- Use Quality Tools: Buy carpet stretchers and knee kickers. These tools simplify installation and improve finish.
Common Carpet Tack Strip Issues
Carpet tack strips are generally reliable, although you may encounter several issues:
- Loose Tack Strips: Unsecured strips may loosen with time. The carpet may move or wrinkle. Hammer the strips in place and use subfloor-appropriate nails.
- Sharp Nail Injuries: Carelessly handling nail strips might cause injuries. Wear gloves and handle strips carefully.
- Floors Incompatibility: Not all tack strips work on all floors. Using the incorrect kind might make carpet installation unsafe. Choose strips that match your subfloor.
- Moisture Deterioration: Standard tack strips may rust in humid environments. Choose moisture-resistant strips to prevent this.

Conclusion
Carpet tack strips are essential for installation. Their tight grip ensures a smooth, professional finish. Knowing tack strip types, installation methods, and typical concerns will help you lay the carpet. Using the correct tack strips and best practices, you can keep your carpet looking beautiful for years.
Knowing about tack strips can help you choose a DIY project or hire an expert. Install carpet tack strips like a master and complete your floor quickly with the appropriate equipment, supplies, and patience.
FAQs
1. Why are carpet tack strips necessary?
Narrow hardwood carpet tack strips have thin, slanted nails. They fix carpet edges during installation for a clean, tight finish. Without them, carpets may move, wrinkle, and seem uneven.
2. Can concrete floors employ carpet tack strips?
Concrete flooring requires specific tack strips. Stronger nails or glue help these strips grasp rigid surfaces. Installing carpet on concrete flooring requires concrete tack strips.
3. What is the recommended distance between the carpet tack strip and the wall?
Tack strips should be 1/4 inch from the wall. This allows for tucking carpet edges and gives the carpet a tidy, professional appearance when stretched over strips.
4. Are there different carpet tack strips for other uses?
Tack strips come in regular, concrete, heavy-duty, moisture-resistant, and dual-purpose varieties. Select a type that matches your flooring and environment; each type is designed for specific surfaces.
5. Should I install carpet tack strips myself or hire a pro?
DIY carpet tack strip installation is possible with the appropriate equipment and methods. It demands accuracy, particularly while stretching and fastening the carpet. If you’re hesitant, use a specialist for a safe installation.
For more tips, keep visiting ImprovementOfHome.com.

